

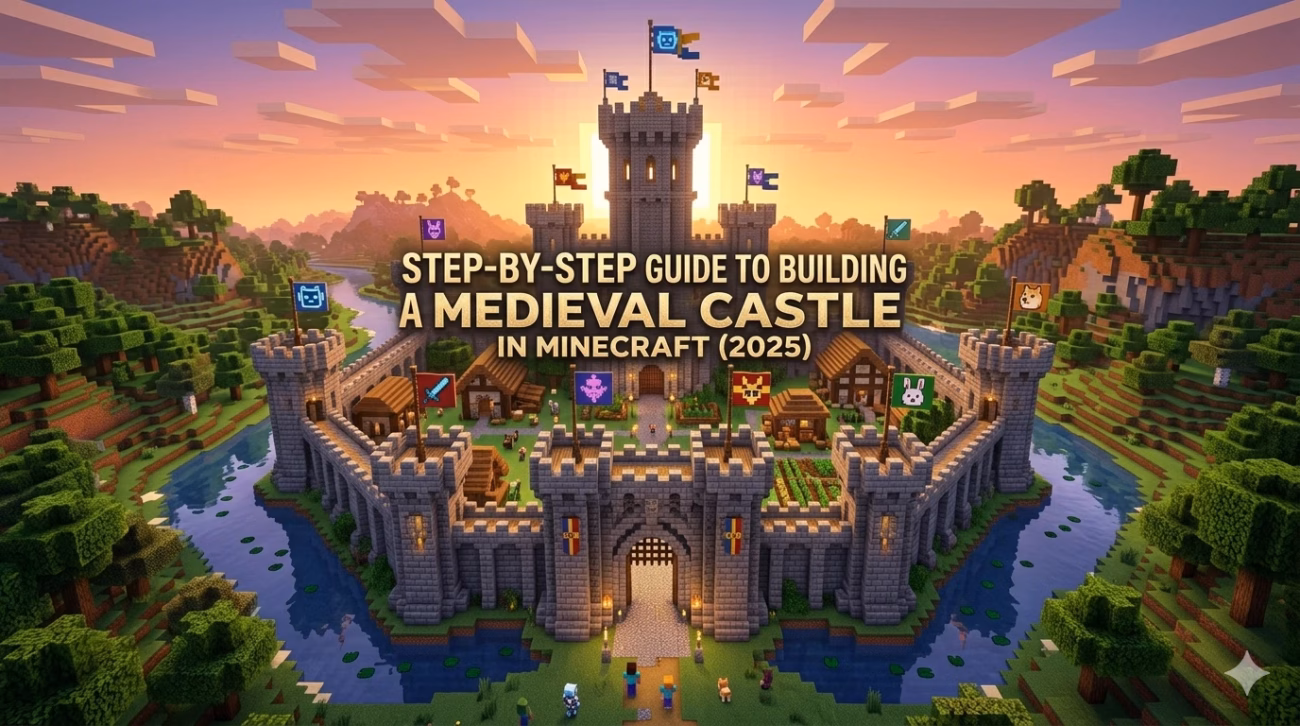
Erecting a medieval castle in Minecraft is one of the most satisfying and iconic systems a player can take on. Whether you’re in survival or creative mode, a castle isn’t just a giant gravestone fort, it’s a homage to your creativity, planning, and architectural vision. In this companion, we’ll walk you through a step-by-step tutorial on constructing a classic medieval-style castle in Minecraft, from foundations to finishing touches.
Step 1: Choose the Right Location
The perfect castle starts with a great setting. Look for elevated ground like hills or mountain cliffs to give your fortress natural defense and a scenic view. Flat plains work too if you want to build a sprawling complex with farms and villages nearby.
Bonus tip: If you want extra atmosphere, place your castle near a forest, river, or ocean for aesthetic contrast and practical resources.
Step 2: Plan the Castle Layout
Sketch or map out your castle before you start building. Think of it as a mini city, not just one large keep. A typical medieval castle layout includes:
- Outer walls
- Corner towers
- Gatehouse
- Inner keep or central tower
- Courtyard
- Barracks, stables, blacksmith, chapel, and storage rooms
Use dirt or wool blocks to mark out rough boundaries and visualize the shape and size before you commit to permanent materials.
Step 3: Lay the Foundation
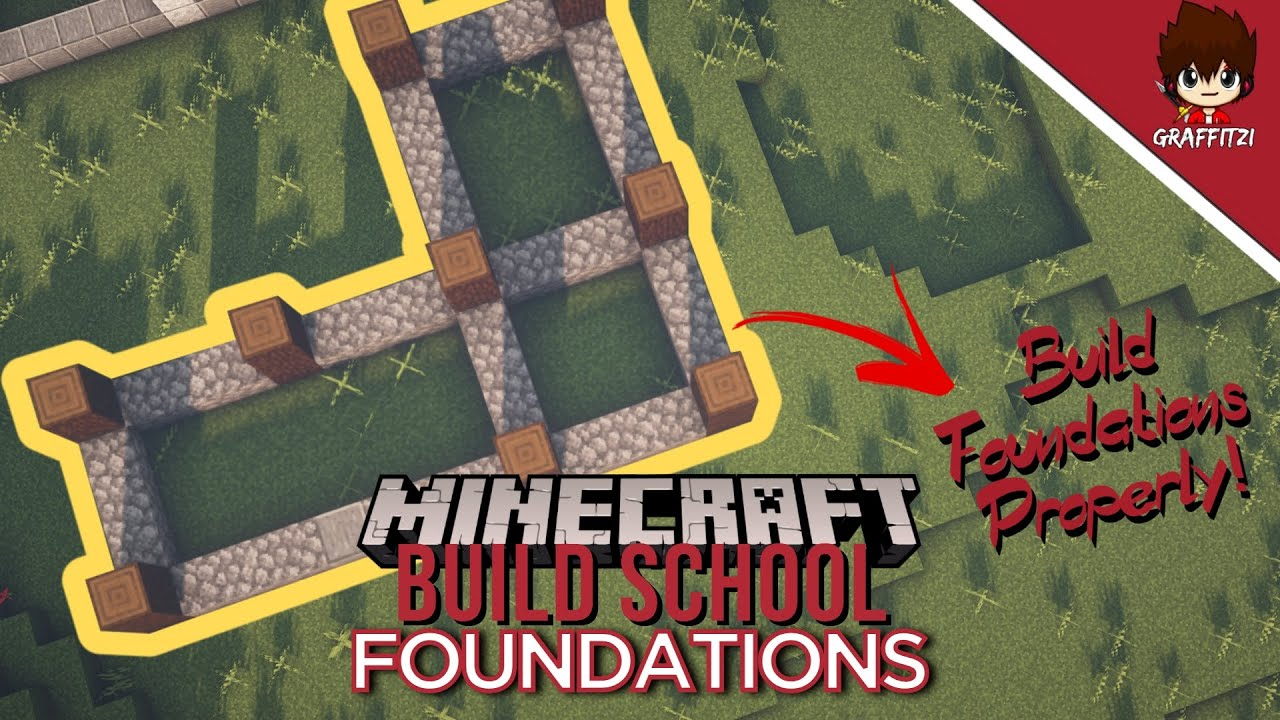
Start by building the outer perimeter of your castle using stone bricks or cobblestone. Make the walls at least 3–4 blocks thick for realism and strength.
You can go with a rectangular, square, or irregular shape depending on the terrain. Medieval castles often adapted to the land, so don’t be afraid to go asymmetrical.
For the gatehouse, leave a gap in the wall that’s about 3–5 blocks wide and build out towers on either side.
Step 4: Build the Outer Walls
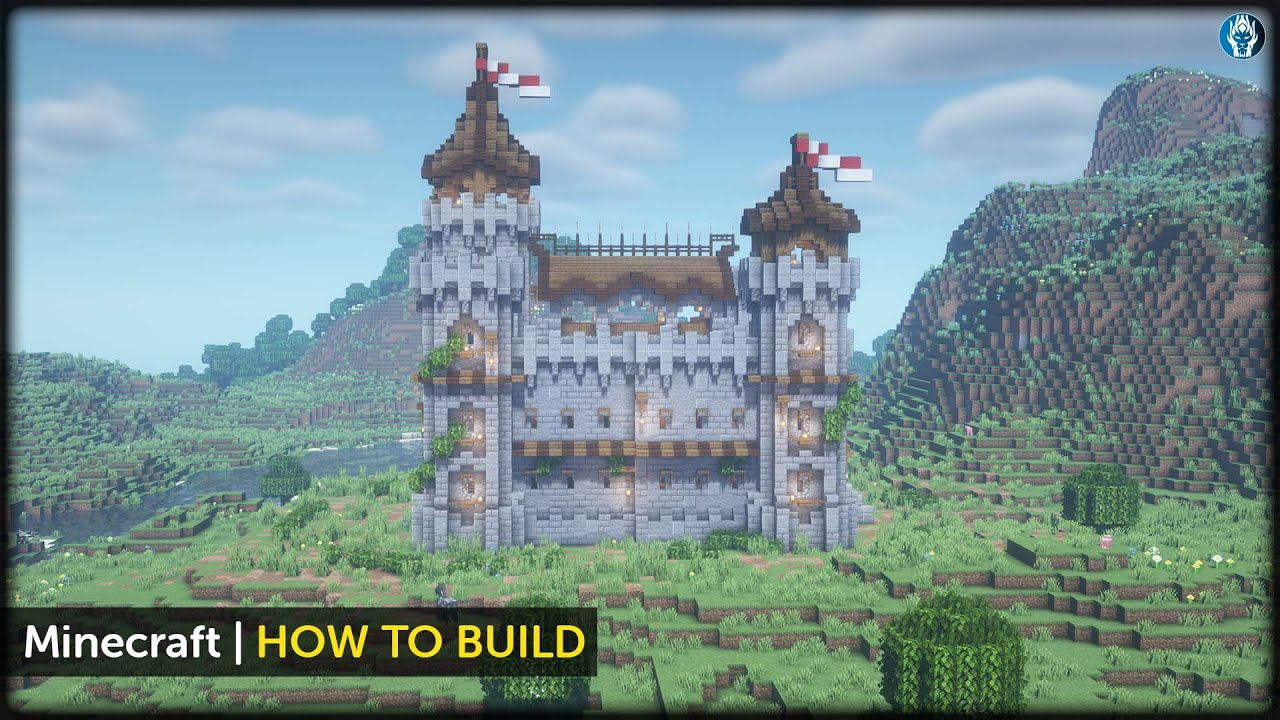
Your outer wall should be around 10–15 blocks tall, depending on scale. Use a mix of stone bricks, cracked stone, and mossy stone bricks to give the walls an aged, authentic look.
Add battlements to the top—alternate blocks to form a crenellated pattern (merlons and embrasures), which medieval soldiers would use for cover during battle.
Step 5: Construct Corner Towers
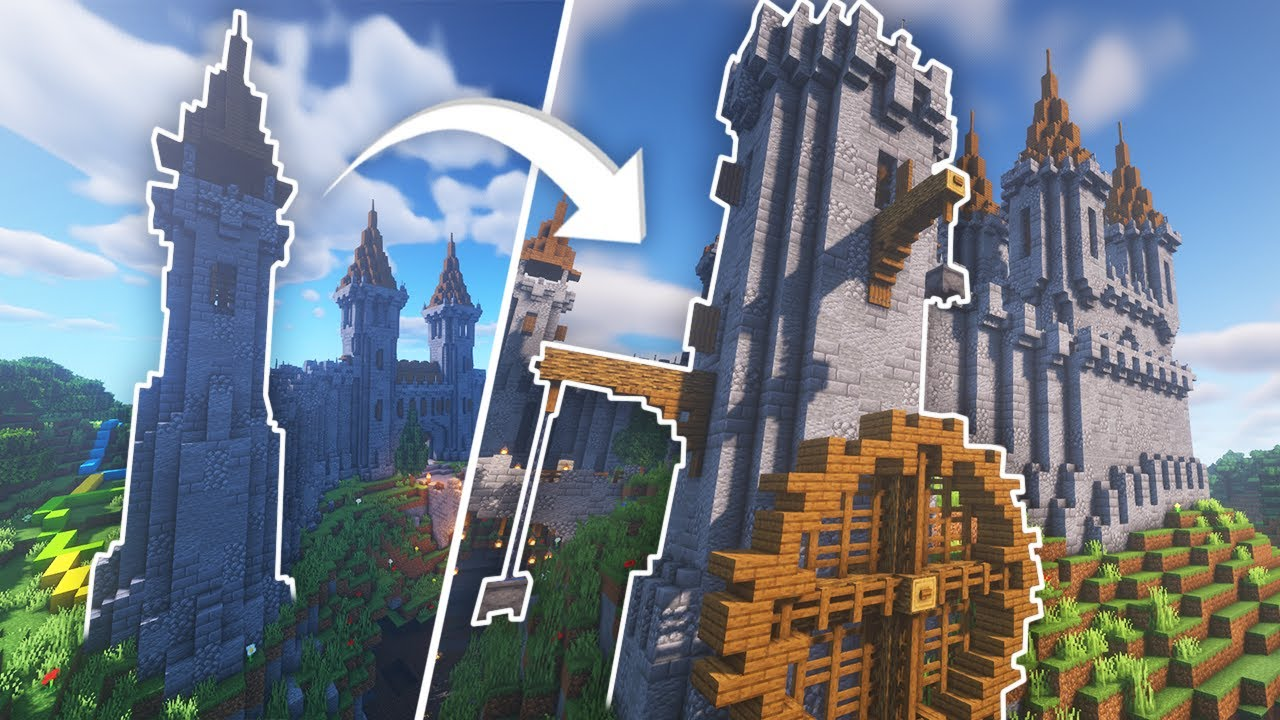
Towers are essential for both defense and aesthetics. Build round or square towers at each corner of the wall, extending 3–5 blocks above the wall height.
Inside, add ladders or spiral staircases so players can access the top. Windows can be arrow slits (1×1 vertical holes) to stay true to medieval realism.
Use stone brick stairs and slabs to shape the roof, or leave them flat with wooden trapdoors for platforms.
Step 6: Create a Grand Gatehouse

The gatehouse is the main entry to your castle—make it grand. Frame it with two small towers, and place a working portcullis using fences and a Redstone piston system or a manual iron gate.
Inside, include a hallway with trapdoors, iron doors, and defensive arrow slits to give it a layered, fortified feeling. For bonus style, hang a banner above the entrance with your castle’s emblem.
Step 7: Design the Keep (Main Building)
The keep is the heart of your castle and typically the tallest structure inside the walls. It should be large, multi-story, and contain rooms such as:
- Throne room
- Bedrooms
- Dining hall
- Library or study
- Storage area or treasure vault
Use oak, dark oak, or spruce wood for interiors, combined with stone for structural walls. Include large windows with stained glass and chandeliers for grandeur.
Step 8: Build the Courtyard and Inner Spaces
Within your outer walls, plan out the courtyard with small side-buildings for realism. Consider adding:
- Blacksmith and forge (stone + lava or fire)
- Stables (fence posts, hay bales, horses)
- Farm or garden (wheat, carrots, herbs, fountain)
- Barracks or soldier’s quarters
A cobblestone or gravel path connecting the buildings adds character.
Step 9: Add Defensive Details
A true medieval castle was designed for survival. Add defensive features like:
- Arrow slits in towers
- Murder holes in the gatehouse roof
- Boiling oil traps (Redstone dispensers with lava)
- Watchtowers outside the walls for long-distance spotting
You can even install Redstone traps at entrances or secret escape tunnels for emergency situations.
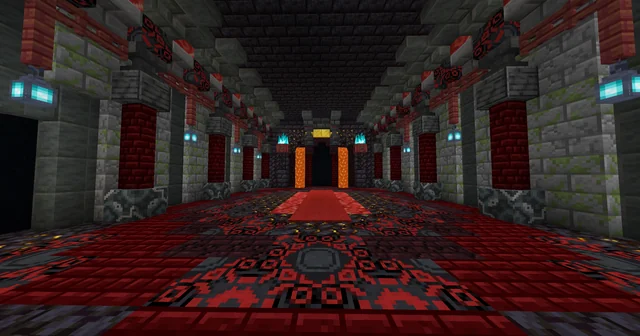
Step 10: Build the Dungeon or Underground Chambers
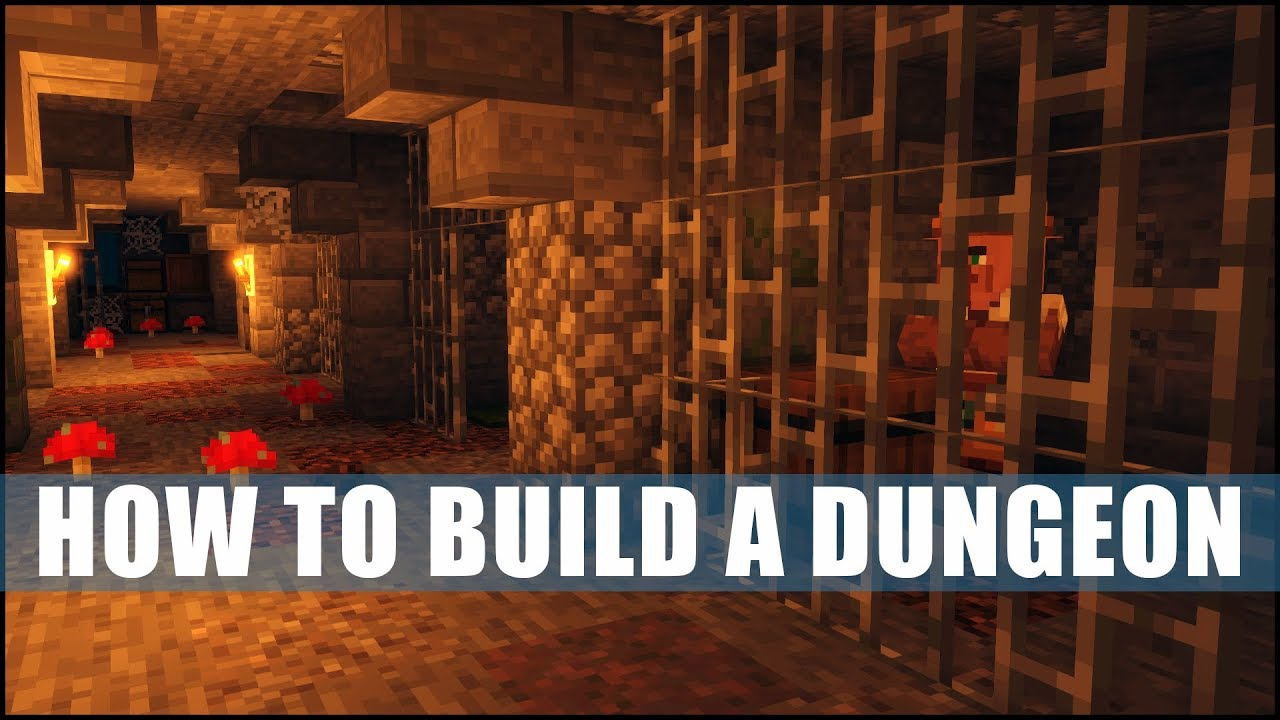
Use your castle’s foundation to add underground tunnels, secret rooms, and prison cells. Use iron bars, mossy stone, and dim lighting for creepy ambiance.
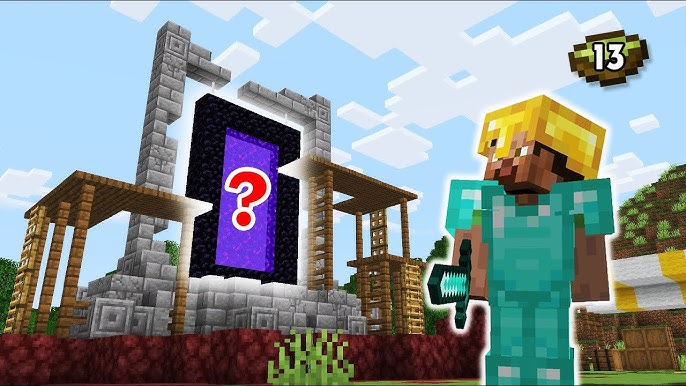
Add loot chests, skeleton heads, or even a prison warden’s room for storytelling. Bonus: Place a Nether portal in a deep chamber to add lore and mystery.
Step 11: Furnish the Interior
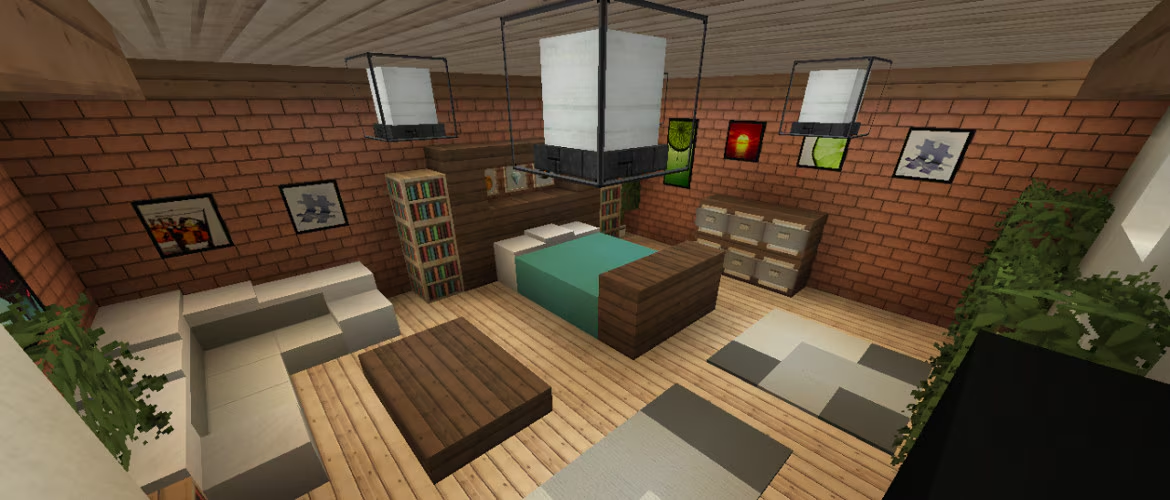
Don’t leave your rooms empty! Medieval interiors are rustic and rich in wood, fabric, and metal. Use:
- Barrels and chests for storage
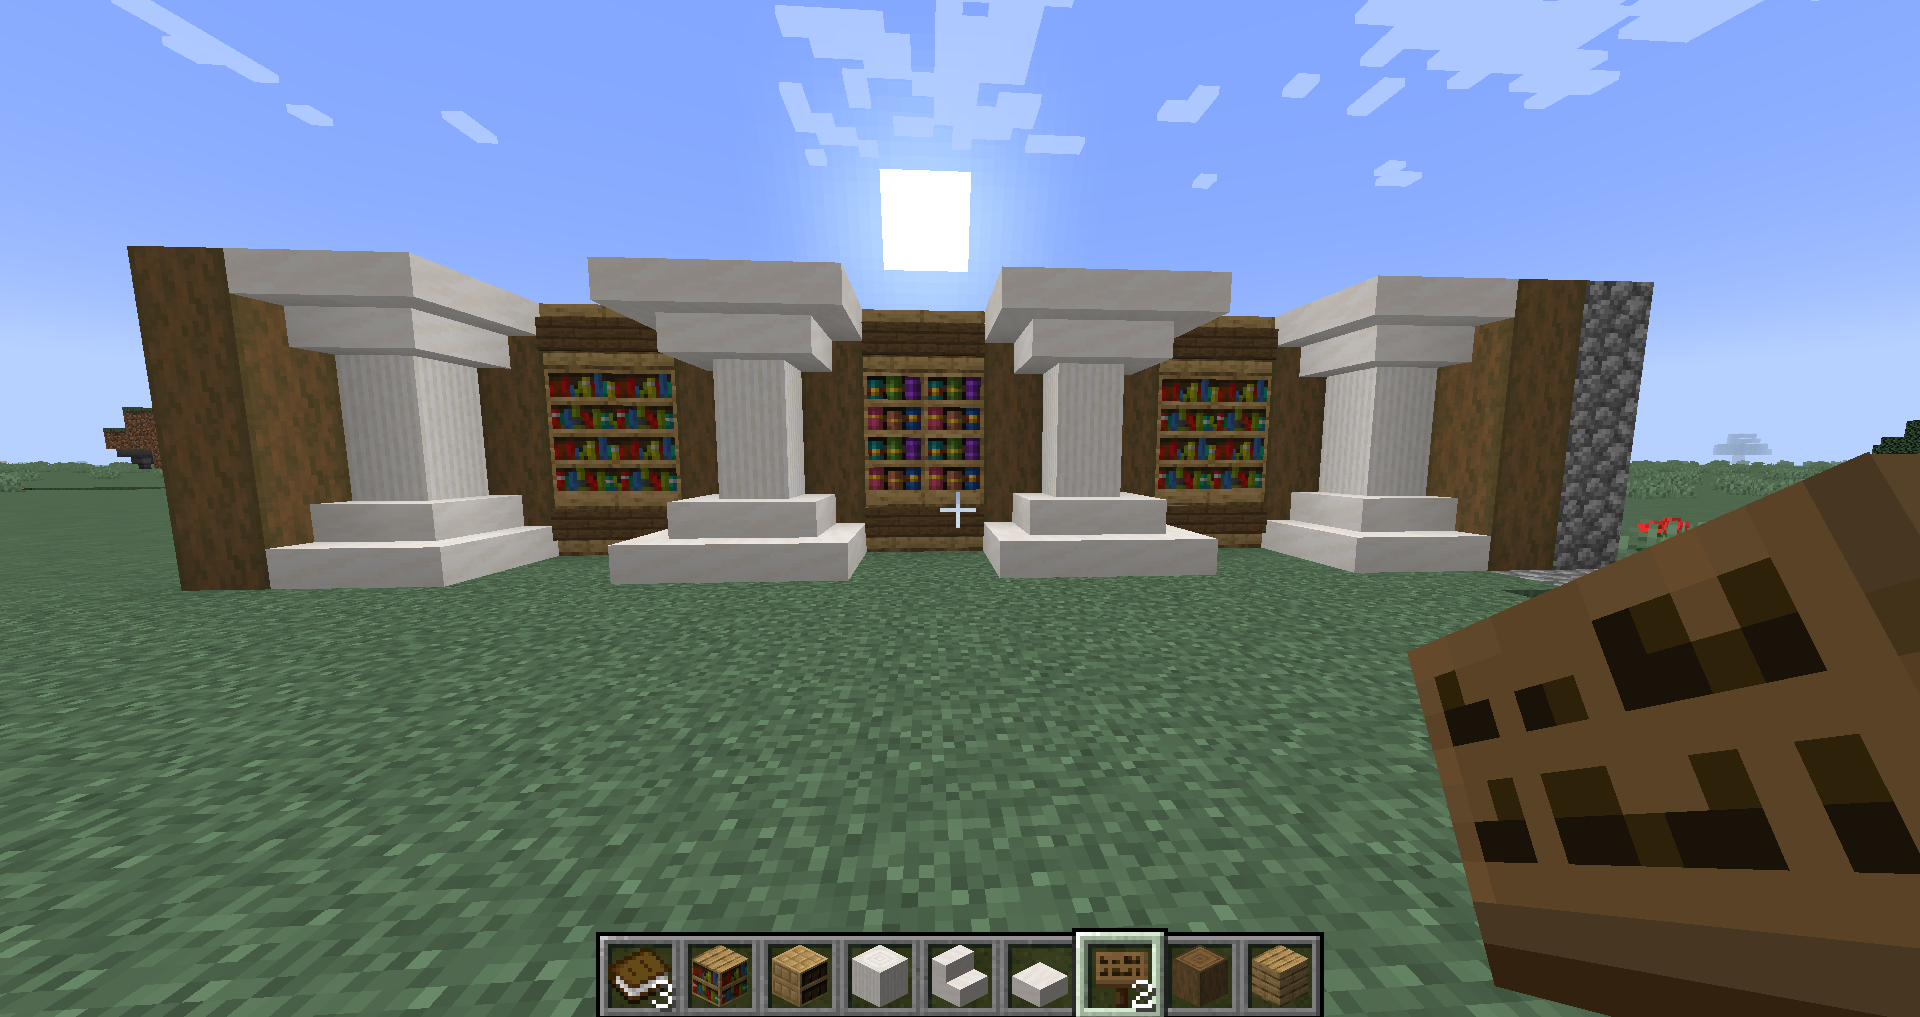
- Bookshelves for libraries or studies
- Armor stands for knight’s quarters
- Banners and paintings for color and flair
- Cauldrons, furnaces, and anvils for smithing areas
Candle clusters and lanterns provide warm, authentic lighting.
Step 12: Lighting and Ambience
Good lighting enhances both safety and atmosphere. Use soul lanterns, glowstone, and candle groupings in halls and towers.
Avoid torches if you want a more immersive medieval feel—though they’re fine for dungeons or stables. For outdoor lighting, use stone lampposts or hanging chains with lanterns.
Step 13: Decorate the Exterior
Outside your castle, create a moat, drawbridge, or stone bridge across a ravine. Add flags and banners on towers and battlements.
Custom trees, flower gardens, fountains, or even a statue in front of the gatehouse can enhance the castle’s approach.
Step 14: Install Redstone Features (Optional)
Redstone isn’t required, but it brings your castle to life:
- Hidden doors behind bookcases
- Trapdoors with lava pits
- Alarm systems (bells + tripwire)
- Portcullis gate mechanisms
- Lighting systems tied to daylight sensors
Experiment with Redstone for functionality that matches the medieval theme.
Step 15: Populate the Castle
Place villagers, armor stands, and even pets like dogs or cats in rooms to give your castle a lived-in feel. Add Iron Golems to patrol the courtyard.
Using name tags, you can give NPCs titles like “Captain of the Guard” or “Royal Chef.”
Step 16: Add Lore and Personal Touches
Every great castle has a story. Leave books with written notes in libraries or secret rooms. Add graveyards with signs. Create a throne room with your banner and a custom title for your character.
This layer of world-building is what makes your Minecraft castle feel epic.
Step 17: Expand Over Time
Once the main build is complete, don’t stop! Add a village outside the walls, roads, or even connect multiple castles via rail or tunnels. Build siege weapons, rival kingdoms, or enemy camps for future adventures.
Final Thoughts
Erecting a medieval castle in Minecraft is a satisfying trip that blends armature, survival, liar, and creativity. With these 17 ways, you are equipped to bring your own majestic fort to life one gravestone block at a time. Whether you’re playing solo or on a garçon, your castle will stand as a dateless monument to your imagination.